
Displacement Maps and Bump Maps add additional detail to a 3d digital object that is too difficult or time-consuming to sculpt. I have constructed a brief tutorial explaining how to get Poser style displacement maps to work with DazStudio 3. The product used in this example is my popular Wondrous Winter collection available under freebies. This tutorial assumes that you know how to load Poser content into DazStudio. If you don’t know how to do that, read this tutorial first.
Step 1: Load the Poser content containing the displacement maps or bump maps then switch to DazStudio’s render pane:
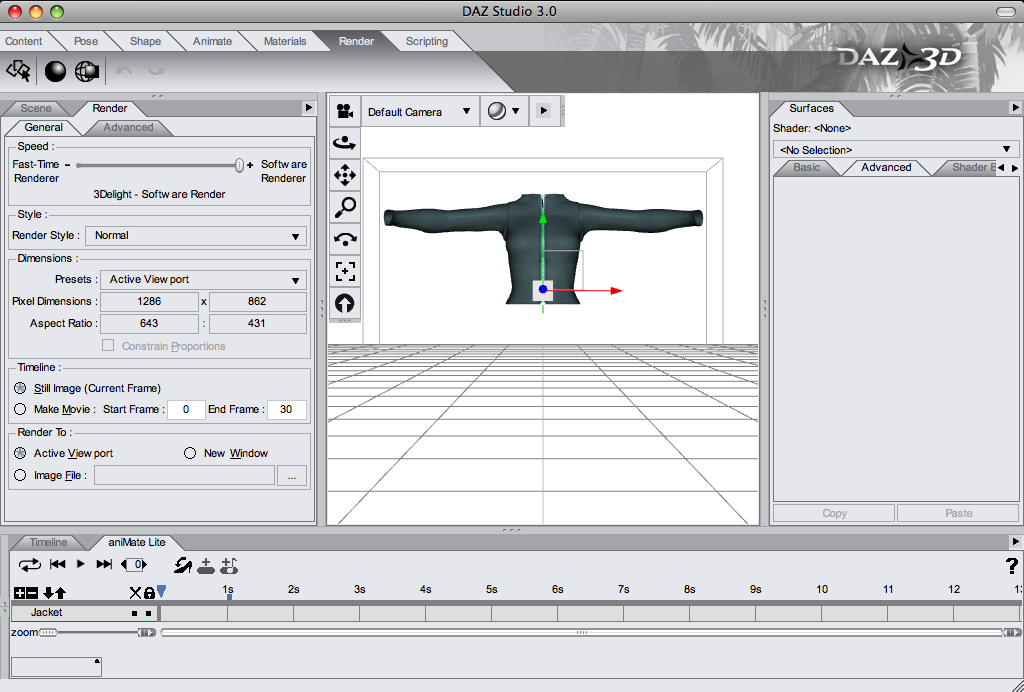
Step 2: On the “Surfaces” tab to the right, select one of the materials from the drop down menu:

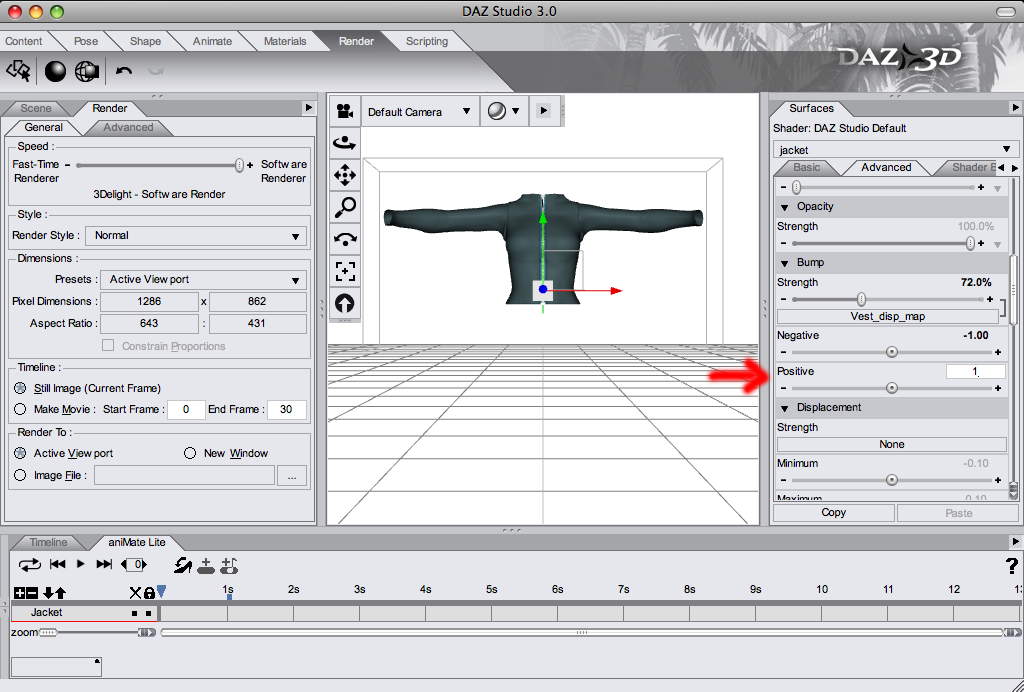
Step 3: If you see a name under “Strength” instead of “None”, change the “Negative” value from 0.010 to -1.0:

Step 4: Change the “Positive” value from 0.010 to 1.0:
Step 5: Repeat steps 1 to 4 many times until ALL the materials have been converted.


